November 16, 2026
Weather barriers serve as a critical defense system, shielding exterior wall assemblies from moisture infiltration, severe wind-driven rain, and uncontrolled air leakage. When external moisture inevitably breaches a home's exterior cladding, an expertly installed weather-resistive barrier ensures that liquid water drains harmlessly downward and away before reaching structural wood framing, insulation cavities, or interior drywall. Understanding this multi-step installation process helps property owners appreciate the precision craftsmanship and engineering standards required to safeguard building envelopes against wood decay, microbial growth, and escalating energy expenses over decades of homeownership.
Selecting High-Performance Weather Barrier Materials
Selecting the ideal protective membrane requires balancing water resistance, vapor permeability, structural durability, and fire ratings to match regional building requirements. According to The Farnsworth Group, weather resistance is the primary driver of residential siding brand choices, with 49% of respondents ranking it among their top three factors. Modern building wraps, self-adhering membranes, and fluid-applied coatings must manage dual responsibilities: preventing bulk exterior water droplets from entering the assembly while allowing trapped interior water vapor to diffuse safely outward into the atmosphere.
Spunbonded polyolefin wraps, woven polyethylene sheets, and advanced micro-perforated barriers offer distinct performance characteristics tailored to specific wall designs. Spunbonded polyolefin structures provide exceptional bulk-water repellency alongside high vapor permeability, allowing moisture that accumulates inside wall cavities during winter heating cycles to escape without condensing on structural studs. In contrast, self-adhering membranes utilize modified bitumen or butyl-based adhesive compounds that bond directly to sheathing boards. These peel-and-stick membranes effectively eliminate air gaps behind the sheet, provide superior resistance against severe wind pressures, and naturally seal around fastener penetrations, making them exceptional choices for vulnerable roof-to-wall intersections and coastal exposures.
The selected materials must also demonstrate chemical compatibility with all adjoining wall components, including exterior sheathing, structural fasteners, flexible flashing tapes, and architectural caulks. Premium synthetic wraps include integrated UV stabilizers that resist photochemical degradation for up to nine months of job site exposure, preventing the material from becoming brittle or porous before siding placement. Professional siding contractors evaluate continuous wind-load ratings, tensile tear strength, and local building code compliance under the International Residential Code (IRC) and International Code Council Evaluation Service (ICC-ES) standards to select the optimal barrier for each specific elevation.
Evaluating Structural Framing and Vulnerable Zones
A durable barrier application begins with a rigorous structural assessment of the building envelope before rolls of protective membrane are unrolled or cut. Installation technicians conduct hands-on inspections across exterior plywood panels, oriented strand board (OSB), and structural framing studs to locate compromised areas, dry rot, structural settling, or past water stains. Utilizing digital pin-type moisture meters, infrared thermography, and visual inspection standards, technicians evaluate the underlying wood framing to guarantee that moisture levels remain strictly below safe thresholds before sealing the walls behind non-porous membranes.
Complex structural transitions and rough openings present elevated risks for hidden moisture intrusion. Window sills, door jambs, cantilevers, outside corners, deck ledger board attachments, electrical meters, and plumbing hose bibs create discontinuous planes across the exterior sheathing. If previous construction failed to install proper sill pan drainage slopes, left oversized gaps between sheathing panels, or neglected kick-out flashing where roof eaves intersect vertical sidewalls, contractors must correct these underlying carpentry defects before applying new moisture barriers. Addressing framing inconsistencies beforehand ensures that subsequent barrier membranes lay completely flat and maintain unbroken continuity.
Contractors also evaluate regional microclimates and site-specific exposure levels when planning wall detailing. A structure built near open shorelines faces heavy wind-driven rain and airborne salt mist, requiring reinforced fastening schedules and corrosion-resistant flashing metals. Conversely, homes situated in extreme northern climates experience sustained freeze-thaw cycles that can stress membrane seams and adhesive bonds through constant thermal contraction and expansion. By factoring in building orientation, prevailing storm directions, and roof drainage trajectories during the pre-construction assessment, installation teams eliminate weak points in the building envelope.
Preparing Wall Sheathing for Membrane Adhesion
Thorough substrate preparation determines how effectively weather-resistant barriers and self-adhering flashing tapes bond to exterior wall sheathing. Sheathing surfaces must be meticulously cleared of loose sawdust, airborne dirt, degraded paper residues, protruding nails, and organic growths such as mold colonies or surface algae. Technicians employ heavy-duty vacuum systems, stiff-bristled brooms, and targeted cleaner applications to establish a sound bonding substrate, ensuring that subsequent acrylic primers and pressure-activated adhesives can form continuous chemical and mechanical bonds.
Creating a level wall plane is equally essential for preventing pockets of trapped moisture and unwanted air channels behind the barrier. Irregular transitions between adjacent OSB panels, warped corner studs, or raised nail heads can create sharp ridges that stress the membrane fabric or puncture the sheet under high wind suction. Installers plane down swollen panel edges, drive proud fasteners flush with the sheathing surface, and apply exterior-grade patch compounds to fill voids or deep gouges in wood sheathing. Achieving a continuous, smooth substrate ensures that water-shedding wraps remain fully supported without risk of abrasion over time.
Integrating Flashing and Drainage Channels
Effective moisture management depends on combining mechanical flashing components and barrier membranes into a shingle-lapped, gravity-shedding wall assembly. Flashing details around window rough openings, exterior doors, and structural intersections must always direct encroaching water outward toward the exterior cladding surface. Technicians construct flexible sill pans with beveled back dams, applying malleable self-adhering flashing tapes that extend up vertical rough jambs and out over the exterior face of the weather barrier. This layered approach ensures that any rainwater bypassing perimeter window caulk safely drains away without contacting bare wood framing.
Rainscreen systems and vertical furring strips are frequently incorporated to construct a continuous drainage plane and ventilation gap behind the finished siding panels. By establishing an open capillary break between the exterior cladding and the weather-resistant barrier, moisture draining behind the siding flows freely downward to continuous weep screeds along the foundation wall. Furthermore, this deliberate airspace facilitates convective airflow, accelerating the drying of wet cladding and mitigating inward vapor drive caused by solar heating on saturated siding boards.
Mechanical penetrations for bathroom exhaust ducts, furnace flues, electrical conduits, and hose bibs require custom multi-layered flashing details. Installers utilize specialized elastomeric penetration boots, heavy-duty seam tapes, and compatible exterior sealants to form flexible gaskets around non-uniform shapes. Siding contractors avoid applying unapproved silicone sealants that can react chemically with asphaltic flashing compounds, opting instead for high-performance polyurethane or modified polymer sealants that retain elasticity through extreme temperature swings without tearing, splitting, or unseating.
Fastening Continuous Layers to Prevent Leaks
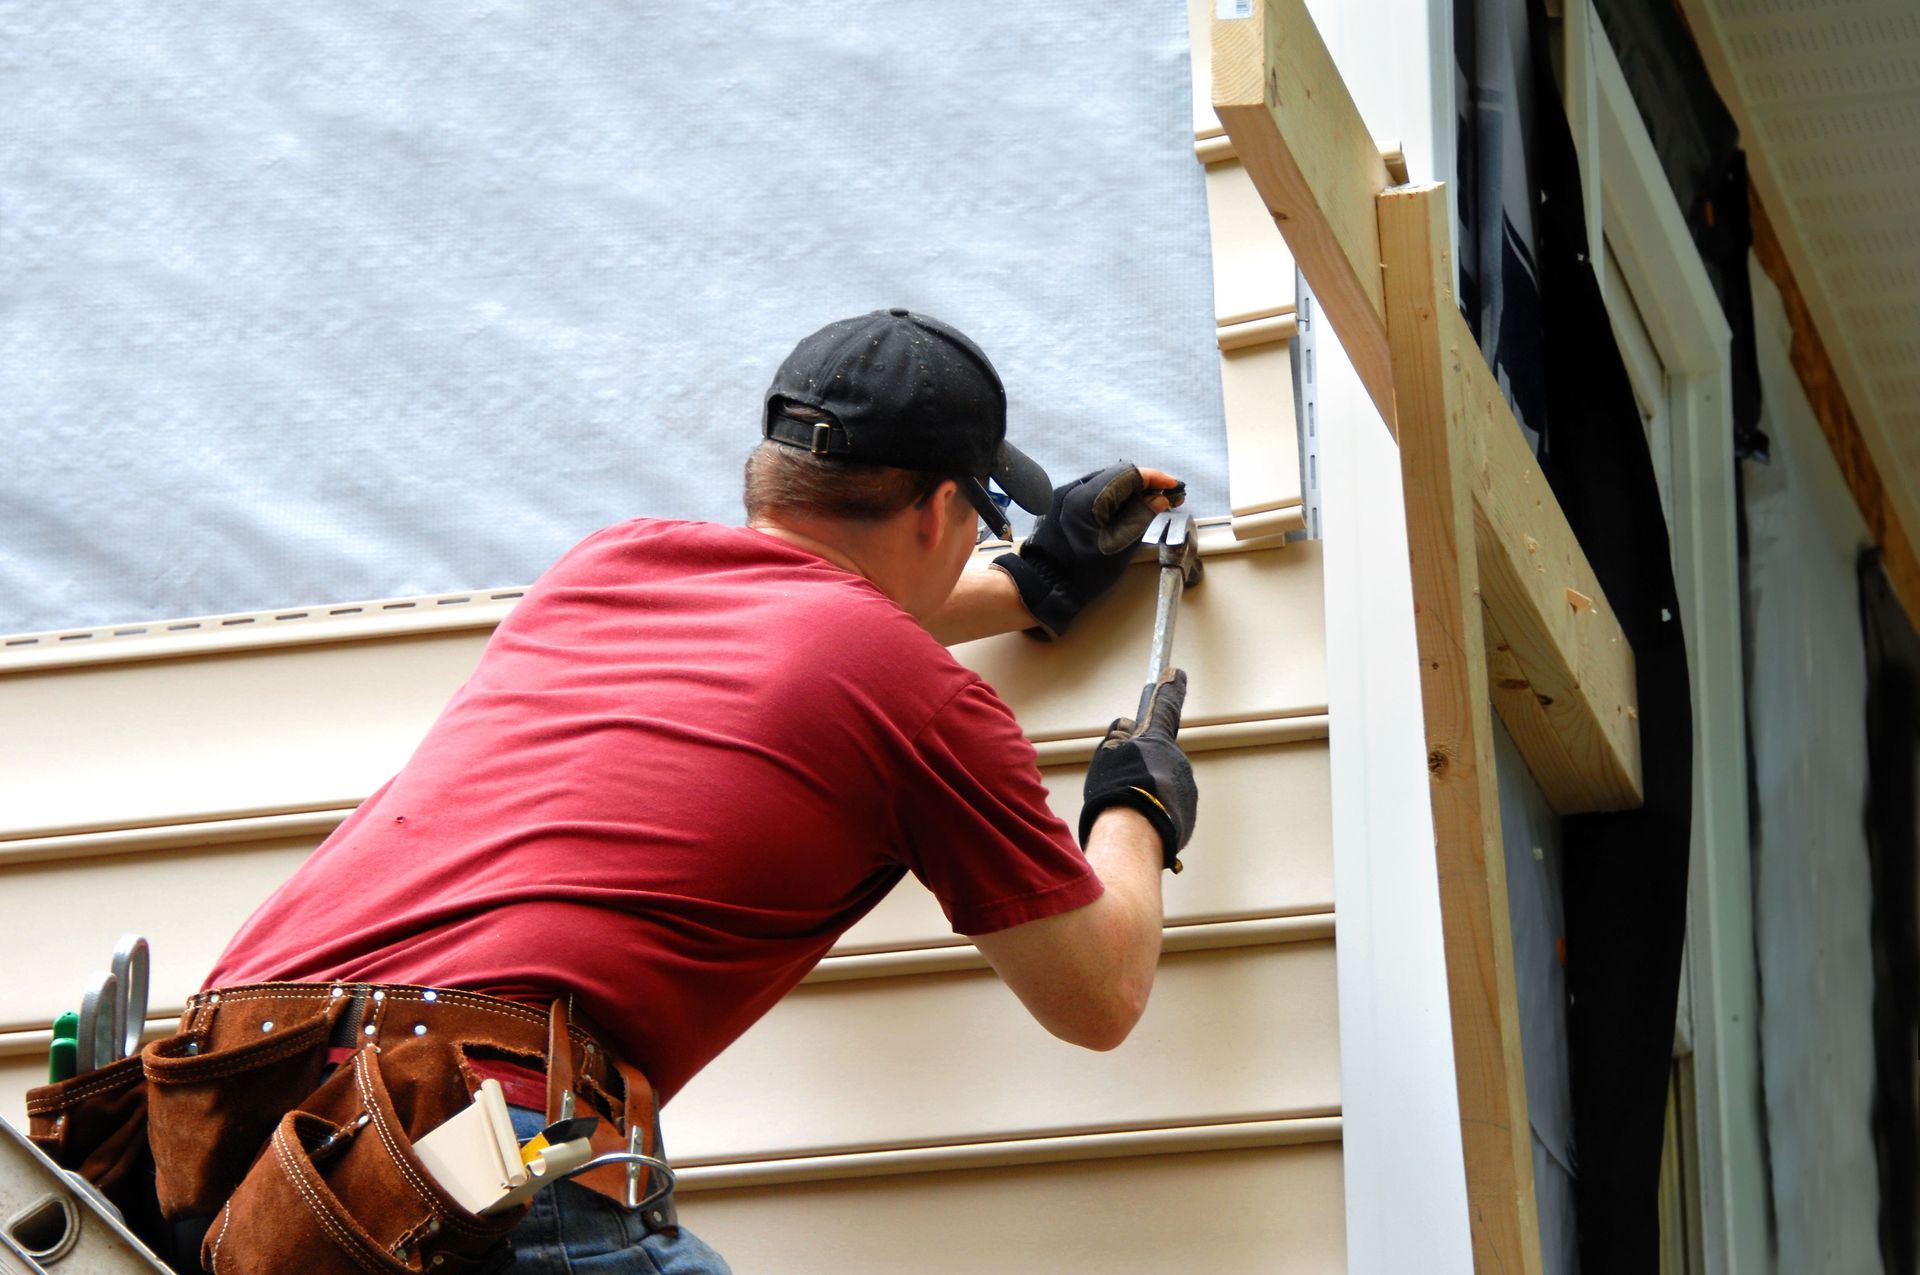
Installing weather barrier sheets requires precise execution of overlapping protocols, starting at the lowest point of the foundation sill plate and working methodically toward roof eaves. Horizontal layers must overlap by at least six inches, while vertical seams require overlaps of at least twelve inches. This continuous shingle-lap orientation dictates that any water running down the face of the membrane cascades effortlessly over lower sheets, completely preventing liquid moisture from migrating behind horizontal joints through gravity or capillary action.
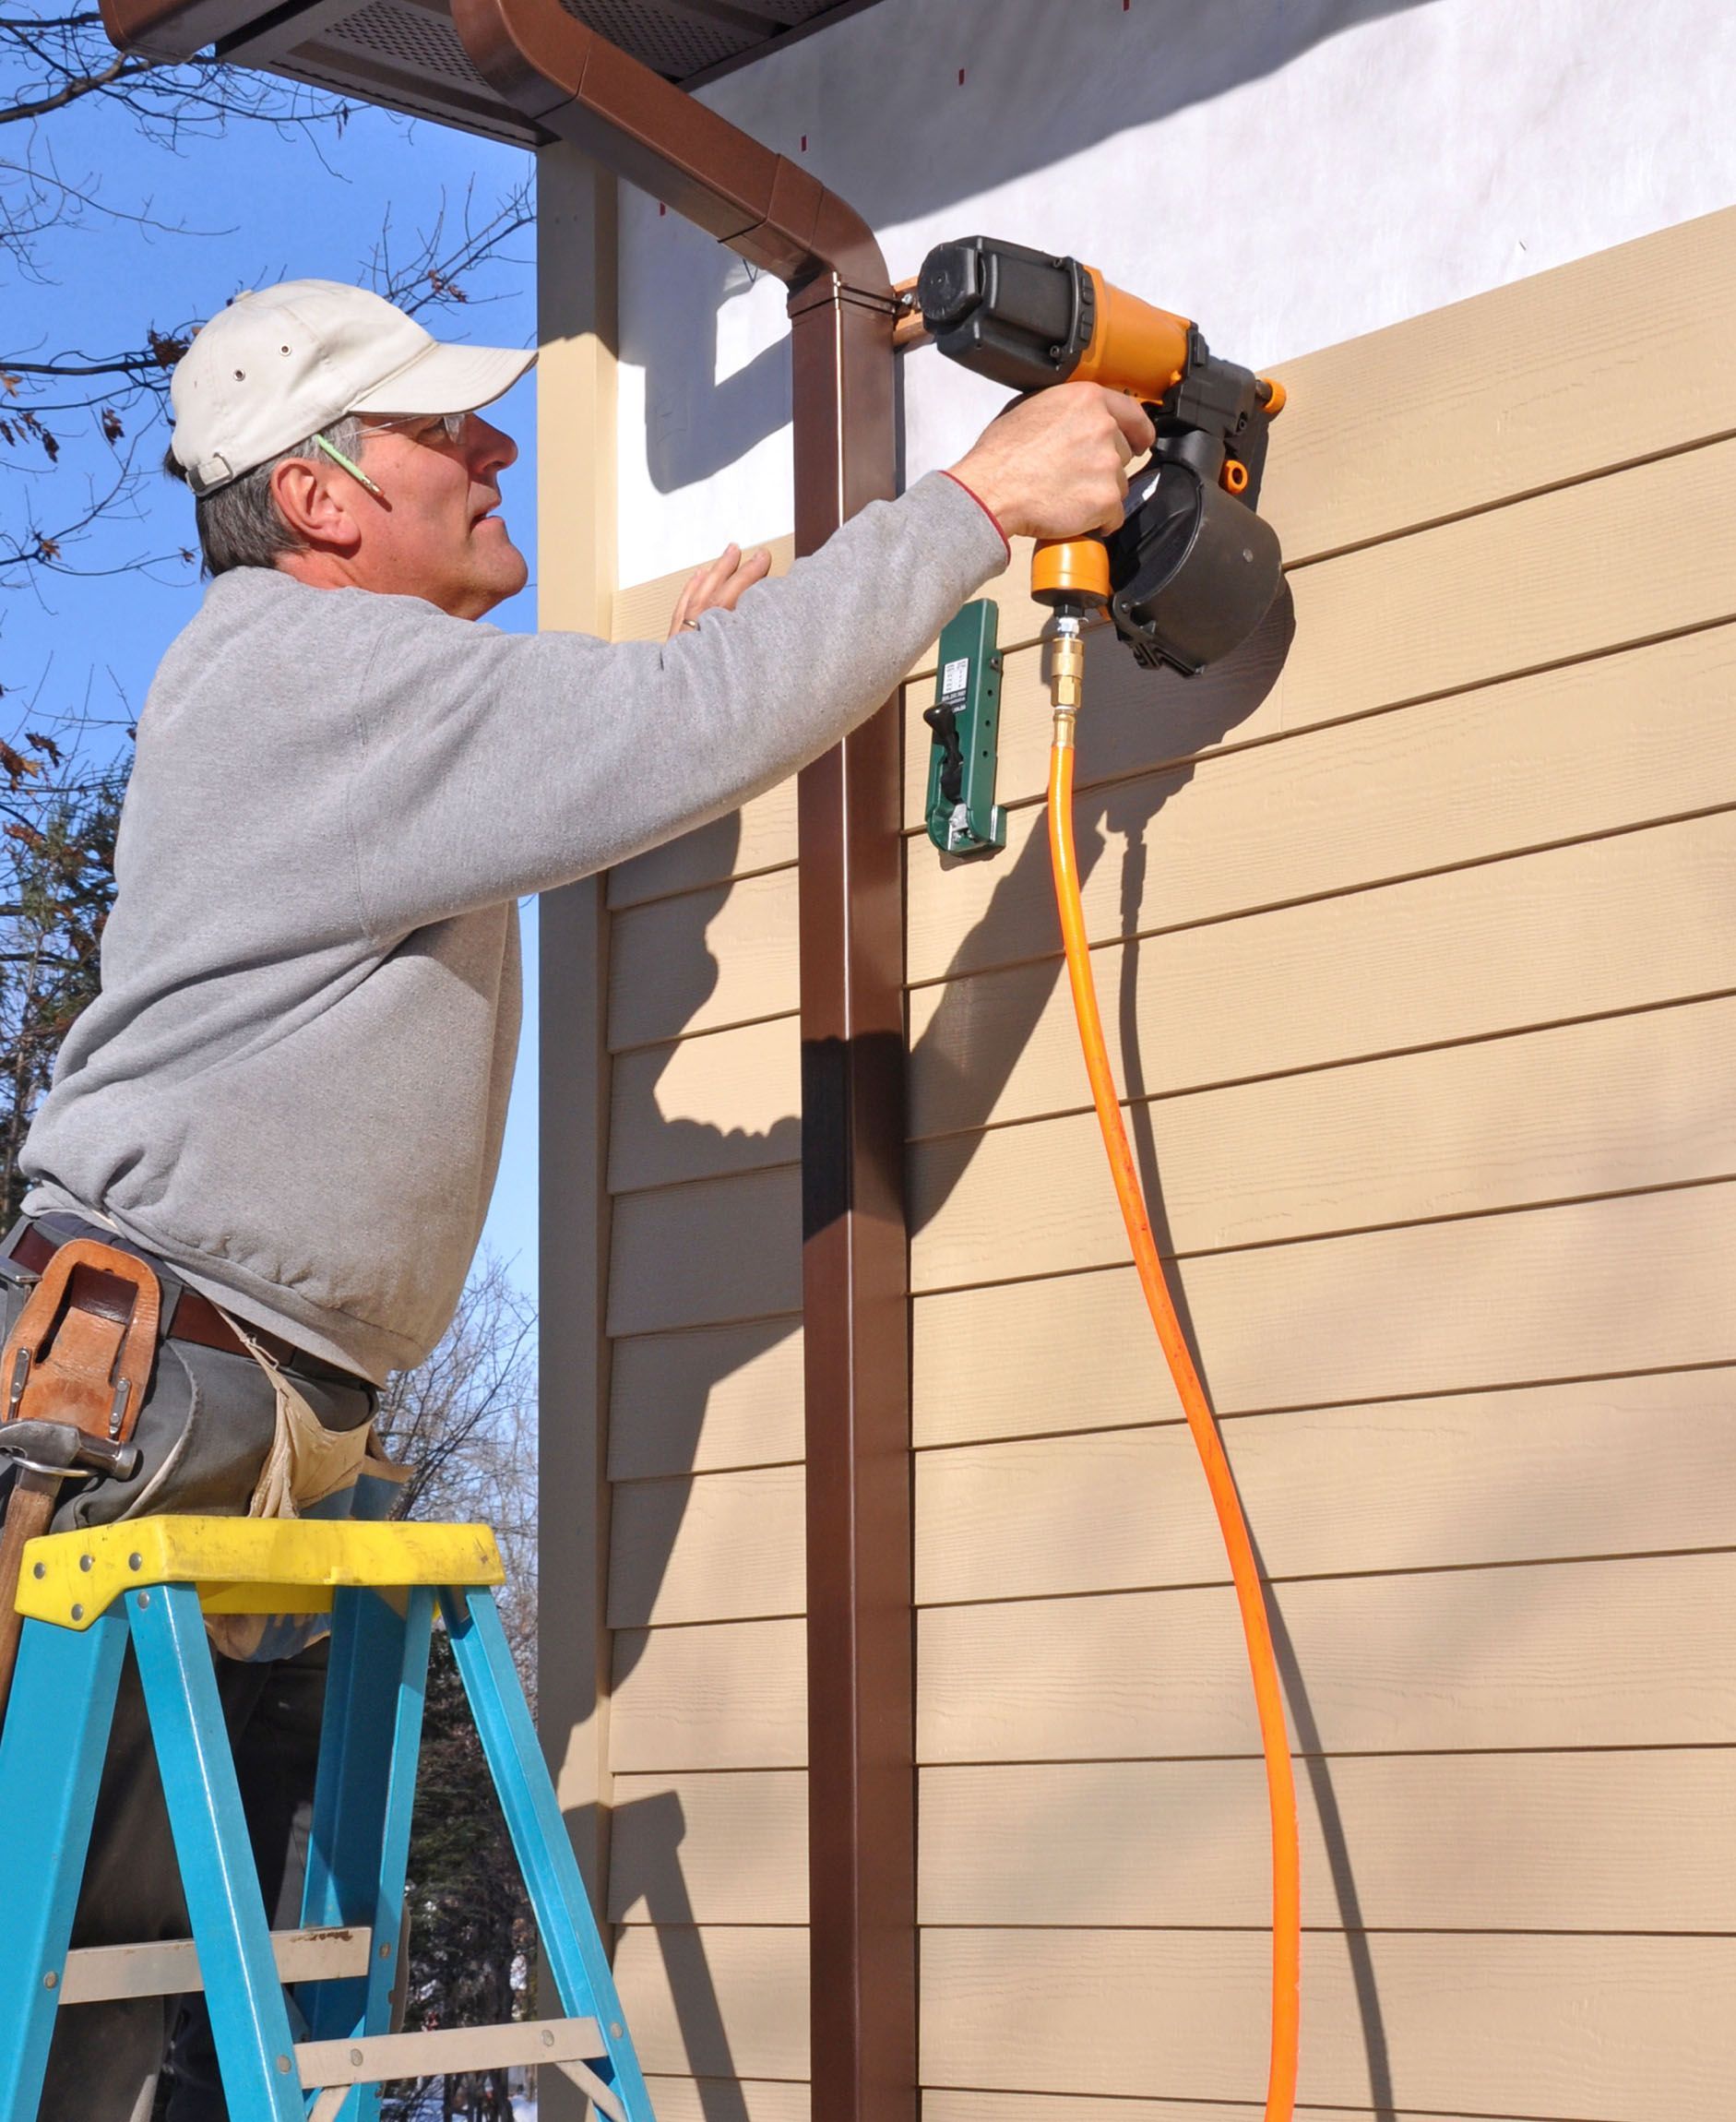
Fastening mechanics demand specialized hardware to prevent moisture penetration through fastener holes. Siding contractors utilize plastic-capped nails or wide-crown cap staples driven through pneumatic fasteners, ensuring large plastic caps distribute holding pressure evenly across the membrane surface without slicing through thin synthetic layers. Fasteners are placed along framing studs at precise spacing intervals, securing sheets against wind uplift while framing lines remain visible. Slap staples and standard wire staples are deliberately avoided, as their narrow metal crowns can tear the membrane during wind-flutter conditions and create pathways for water intrusion.
Investing in a high-performance weather barrier safeguards your residential property against structural rot, compromised wall insulation, and costly moisture remediation. Precision installation techniques, proper material selection, and disciplined attention to flashing details guarantee that exterior walls remain resilient, dry, and energy-efficient in every season. For more information about the services that we offer, reach out to our incredible team at Sunset Siding Windows & Roofing today!